


-
 bitcoin
 $87959.907984 USD
1.34% - ethereum
$2920.497338 USD
3.04% - tether
$0.999775 USD
0.00% - xrp
$2.237324 USD
8.12% - bnb
$860.243768 USD
0.90% - solana
$138.089498 USD
5.43% - usd-coin
$0.999807 USD
0.01% - tron
$0.272801 USD
-1.53% - dogecoin
$0.150904 USD
2.96% - cardano
$0.421635 USD
1.97% - hyperliquid
$32.152445 USD
2.23% - bitcoin-cash
$533.301069 USD
-1.94% - chainlink
$12.953417 USD
2.68% - unus-sed-leo
$9.535951 USD
0.73% - zcash
$521.483386 USD
-2.87%


How to cross-chain web3 wallet
By leveraging Web3 wallets and cross-chain bridges, DeFi users can seamlessly transfer assets across blockchains, enhancing their trading and investment versatility.
Oct 20, 2024 at 09:18 am
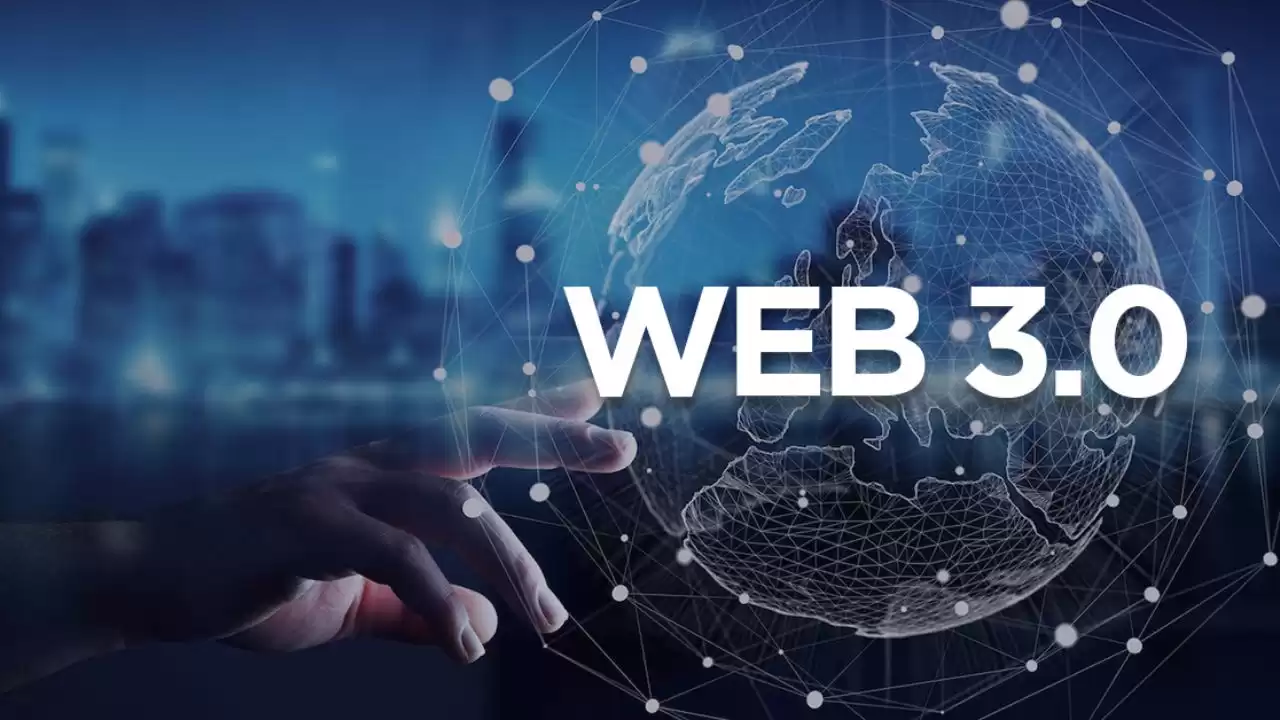
How to Cross-Chain with a Web3 Wallet
Cross-chain functionality is becoming increasingly important as the DeFi ecosystem grows. By allowing users to transfer assets between different blockchains, cross-chain bridges provide a more seamless and versatile experience for traders and investors.
Step 1: Choose a Web3 Wallet
The first step is to choose a Web3 wallet that supports cross-chain transactions. Some of the most popular options include:
- MetaMask
- Coinbase Wallet
- Trust Wallet
- Binance Chain Wallet
- OKX Wallet
Each of these wallets has its own strengths and weaknesses, so it's important to choose the one that best suits your needs.
Step 2: Find a Cross-Chain Bridge
Once you have chosen a Web3 wallet, you need to find a cross-chain bridge that supports the blockchain you want to transfer assets from and to. There are many different cross-chain bridges available, each with its own fees and capabilities.
some popular options include:
- Polygon Bridge
- Binance Bridge
- Avalanche Bridge
- Arbitrum Bridge
- xPollinate
Step 3: Connect Your Wallet to the Bridge
Once you have found a cross-chain bridge, you need to connect your Web3 wallet to it. This will allow you to transfer assets from your wallet to the bridge.
To connect your wallet, simply click on the "Connect Wallet" button on the bridge's website. You will then be prompted to select your wallet provider and enter your login credentials.
Step 4: Select the Assets You Want to Transfer
Once your wallet is connected, you can select the assets you want to transfer. You will need to specify the amount of assets you want to transfer, as well as the blockchain you want to transfer them to.
Step 5: Initiate the Transfer
Once you have selected the assets you want to transfer, you can initiate the transfer by clicking on the "Transfer" button. The bridge will then begin the process of transferring your assets.
The transfer process can take several minutes or even hours, depending on the blockchain you are transferring assets to. Once the transfer is complete, your assets will be available in your new wallet.
Conclusion
Cross-chain transactions are a powerful way to move assets between different blockchains. By following the steps outlined in this guide, you can easily and securely transfer your assets using a Web3 wallet.
Disclaimer:info@kdj.com
The information provided is not trading advice. kdj.com does not assume any responsibility for any investments made based on the information provided in this article. Cryptocurrencies are highly volatile and it is highly recommended that you invest with caution after thorough research!
If you believe that the content used on this website infringes your copyright, please contact us immediately (info@kdj.com) and we will delete it promptly.


- Bitcoin, eCash Fork, and Airdrop Dynamics: A Deep Dive into Crypto's Latest Controversies
- 2026-05-03 12:55:01
- Consensus 2026 Miami: Web3, Blockchain, Cryptocurrency, NFTs, Metaverse, Conference, May 5th — Where Wall Street Meets the Digital Frontier
- 2026-05-02 12:45:01
- Fed Holds Rates Steady, Triggering Bitcoin Price Drop Amidst Geopolitical Tensions
- 2026-05-01 06:45:01
- Bitcoin Miners Electrify the Grid: Ohio Gas Plant Acquisition Powers Up a New Era for Digital Gold
- 2026-05-01 00:45:01
- MegaETH's MEGA Token Hits the Big Apple: Setting New Performance Benchmarks for Real-Time Blockchain
- 2026-05-01 00:55:01
- Solana's Slippery Slope: Price Prediction Points to Resistance Loss and Potential Further Drops
- 2026-05-01 06:45:01
Related knowledge

What Is Blockchain Security? How Can Users Avoid Crypto Scams?
Jul 26,2026 at 04:40am
Understanding Blockchain Security Fundamentals1. Blockchain security relies on cryptographic hashing to ensure data integrity across every block in th...

What Is Token Burn? Why Do Projects Destroy Tokens?
Jul 22,2026 at 10:39am
Definition and Technical Execution1. Token burn refers to the irreversible removal of digital tokens from circulation by sending them to an inaccessib...

What Is Circulating Supply? Why Does Token Supply Matter?
Jul 21,2026 at 01:40pm
What Is Circulating Supply?1. Circulating supply refers to the number of tokens that are currently available for trading and use in the open market. 2...

What Is Market Cap in Crypto? How Is It Calculated?
Jul 24,2026 at 09:40pm
Market Volatility Patterns1. Bitcoin’s price swings often correlate with macroeconomic indicators such as U.S. inflation reports and Federal Reserve i...
? Is It Safer Than CEX?")
What Is a Decentralized Exchange (DEX)? Is It Safer Than CEX?
Jul 21,2026 at 02:00pm
Core Architecture of DEX1. A decentralized exchange operates entirely on blockchain infrastructure without relying on centralized servers or custodial...

What Is Self-Custody Crypto? Why Do People Say “Not Your Keys, Not Your Coins”?
Jul 26,2026 at 08:19am
Core Principle of Self-Custody1. Self-custody means the user holds and manages their own private keys without delegating control to any third party. 2...
What Is Blockchain Security? How Can Users Avoid Crypto Scams?
Jul 26,2026 at 04:40am
Understanding Blockchain Security Fundamentals1. Blockchain security relies on cryptographic hashing to ensure data integrity across every block in th...
What Is Token Burn? Why Do Projects Destroy Tokens?
Jul 22,2026 at 10:39am
Definition and Technical Execution1. Token burn refers to the irreversible removal of digital tokens from circulation by sending them to an inaccessib...
What Is Circulating Supply? Why Does Token Supply Matter?
Jul 21,2026 at 01:40pm
What Is Circulating Supply?1. Circulating supply refers to the number of tokens that are currently available for trading and use in the open market. 2...
What Is Market Cap in Crypto? How Is It Calculated?
Jul 24,2026 at 09:40pm
Market Volatility Patterns1. Bitcoin’s price swings often correlate with macroeconomic indicators such as U.S. inflation reports and Federal Reserve i...
What Is a Decentralized Exchange (DEX)? Is It Safer Than CEX?
Jul 21,2026 at 02:00pm
Core Architecture of DEX1. A decentralized exchange operates entirely on blockchain infrastructure without relying on centralized servers or custodial...
What Is Self-Custody Crypto? Why Do People Say “Not Your Keys, Not Your Coins”?
Jul 26,2026 at 08:19am
Core Principle of Self-Custody1. Self-custody means the user holds and manages their own private keys without delegating control to any third party. 2...
See all articles


